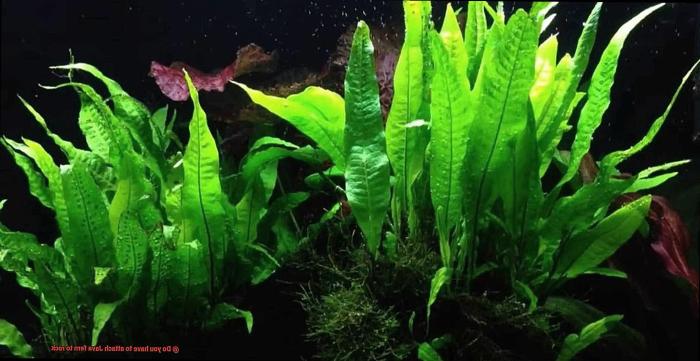
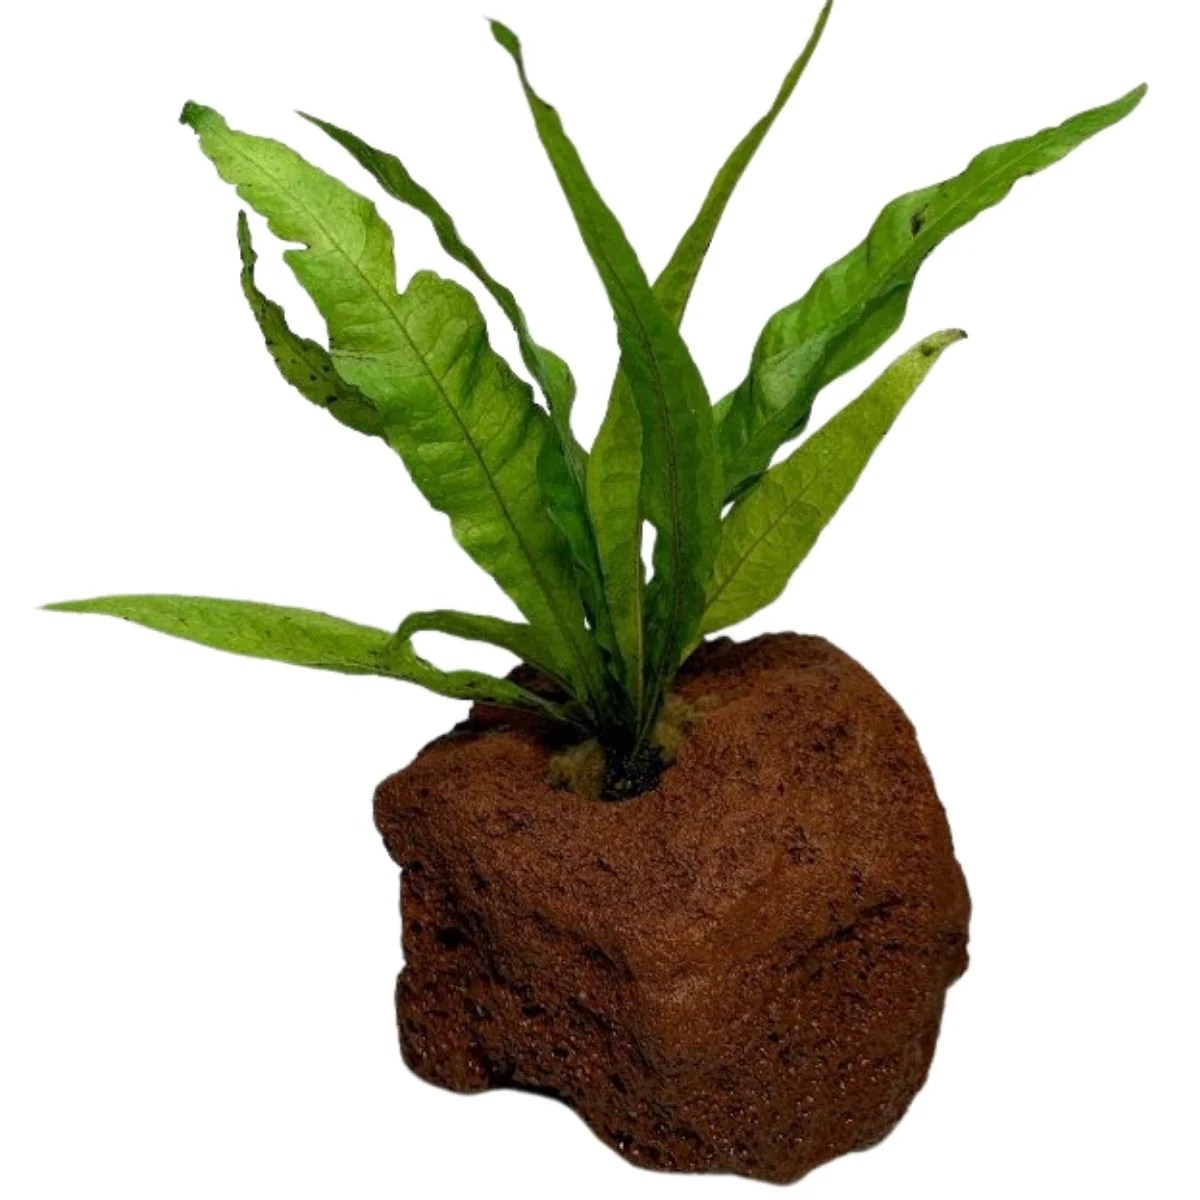
How to attach Java fern to rock is a question that many aquarium enthusiasts ponder, seeking to create a vibrant and natural environment for their aquatic inhabitants. Java fern, with its lush green fronds, is a popular choice for aquascaping, offering a stunning backdrop for colorful fish and intricate plant life.
But securing it to rocks, the preferred method for this epiphytic plant, requires a bit of finesse. This guide will walk you through the process, from preparing the rock and the fern to selecting the ideal attachment method, ensuring a thriving and beautiful underwater landscape.
Attaching Java fern to rock offers numerous benefits, primarily enhancing the aesthetic appeal of your aquarium. The fern’s cascading fronds create a sense of depth and dimension, while the rock provides a sturdy anchor, preventing the plant from drifting around.
Additionally, the rock’s surface provides a suitable substrate for the fern’s rhizome, the horizontal stem from which the fronds grow. This attachment method allows the fern to thrive in a more natural setting, replicating its growth in its natural habitat.
Preparation

A clean and prepared surface is crucial for successful Java fern attachment. This ensures the fern can firmly adhere to the rock and thrive in its new environment.
Cleaning the Rock Surface
A clean rock surface is essential for optimal Java fern attachment. Algae, debris, and other microorganisms can hinder the fern’s ability to attach and potentially cause infections.
- Thorough Cleaning:Use a stiff brush or a toothbrush to scrub the rock surface vigorously, removing any visible algae, debris, or sediment. This ensures a clean surface for the fern to attach to.
- Water Treatment:After scrubbing, soak the rock in a solution of aquarium water and a dechlorinator for at least 30 minutes. This removes any remaining chlorine or other harmful chemicals that could damage the fern.
Preparing the Java Fern Rhizome
The Java fern rhizome, the horizontal stem from which the leaves grow, is the key to successful attachment. It needs to be properly prepared to ensure a strong bond with the rock.
- Identify the Rhizome:The rhizome is the horizontal stem that runs along the base of the Java fern. It is typically brown or dark green and has a distinct texture. It is crucial to avoid attaching the fern directly to the leaves as they will not attach and will rot.
- Trim the Rhizome:Using sharp scissors, trim the rhizome into smaller sections, approximately 2-3 inches long. This allows for easier attachment and promotes the growth of multiple plants.
- Secure the Rhizome:Use a strong, non-toxic thread or fishing line to secure the rhizome to the rock. Avoid using glue or other adhesives as they can harm the fern and disrupt its growth.
Selecting the Appropriate Rock
The size and shape of the rock can significantly influence the Java fern’s growth and overall appearance. Selecting the right rock can enhance the aesthetic appeal of your aquarium.
- Rock Size:Choose a rock that is large enough to accommodate the Java fern’s growth but not so large that it overpowers the aquarium. The size of the rock should be proportionate to the size of the aquarium and the other plants.
- Rock Shape:Select a rock with crevices, grooves, or indentations where the Java fern rhizome can be secured. This provides a natural-looking attachment point and encourages the fern to spread and grow. Choose a rock with a shape that complements the overall aesthetic of your aquarium.
Attaching Java fern to rock is a simple process, just like understanding what your goldfish can safely eat. For example, you might wonder, “Can goldfish eat carrots?” and find the answer in this helpful guide: Can Goldfish Eat Carrots: A Guide to Safe Veggie Treats.
Once you’ve got your fish’s diet figured out, you can focus on creating a thriving aquatic environment with Java fern, securely attached to your aquarium’s rocks.
Attachment Methods: How To Attach Java Fern To Rock

There are several methods to attach Java ferns to rocks, each with its own advantages and disadvantages. Let’s explore some popular methods and their nuances.
Using Fishing Line
Fishing line is a common and effective way to secure Java ferns to rocks. The thin, durable line can be tied around the base of the fern and then wrapped around the rock, creating a secure hold. Here’s a step-by-step guide:
- Select a suitable fishing line:Choose a thin, but strong line that won’t easily break. A line with a diameter of 0.1-0.2 mm is ideal.
- Tie the line around the base of the Java fern:Make a secure knot around the base of the fern, ensuring it doesn’t restrict its growth.
- Wrap the line around the rock:Wrap the line around the rock multiple times, creating a firm grip.
- Secure the line:Tie the line to itself, creating a secure knot that won’t loosen over time.
Using Super Glue or Aquarium-Safe Epoxy
Super glue or aquarium-safe epoxy can be used to permanently attach Java ferns to rocks. However, it’s crucial to use a product specifically designed for aquariums, as some glues can release harmful chemicals into the water.
- Choose a suitable adhesive:Select an aquarium-safe super glue or epoxy that is specifically designed for underwater use.
- Prepare the surfaces:Clean the rock and the base of the Java fern thoroughly to ensure a strong bond.
- Apply the adhesive:Apply a small amount of adhesive to the base of the fern and press it firmly against the rock.
- Secure the attachment:Hold the fern in place for a few minutes to allow the adhesive to set.
Comparison of Attachment Methods
- Fishing Line:
- Pros:Relatively easy to apply and remove, non-toxic to aquatic life, allows for adjustments as the fern grows.
- Cons:Can be unsightly, might loosen over time, requires periodic maintenance.
- Super Glue or Aquarium-Safe Epoxy:
- Pros:Creates a permanent and secure bond, aesthetically pleasing.
- Cons:Requires careful application to avoid damaging the fern, can be difficult to remove, might release harmful chemicals if not aquarium-safe.
Post-Attachment Care
After securing your Java fern to a rock or driftwood, it’s crucial to provide the right conditions to ensure its healthy growth and thriving in your aquarium. This involves strategic positioning, maintaining ideal water parameters, and vigilant monitoring for any signs of distress.
Positioning for Optimal Growth
The placement of your Java fern within the aquarium significantly influences its growth and overall health. Here’s how to ensure optimal positioning:
- Light Intensity:Java ferns prefer low to moderate light levels. Avoid placing them in areas of high light intensity, as this can lead to algae growth and inhibit their growth.
- Water Flow:Moderate water flow is beneficial, as it helps distribute nutrients and prevents the accumulation of debris. However, excessive flow can damage the delicate leaves and hinder growth.
- Visibility:Consider the placement of your Java fern in relation to the overall aquarium layout. You might want to position it in a way that enhances the visual appeal of your tank while allowing for adequate light penetration.
Maintaining Ideal Water Parameters, How to attach java fern to rock
Java ferns are relatively hardy and can tolerate a wide range of water parameters. However, maintaining optimal conditions ensures their optimal growth and health. Here are some key parameters to monitor:
- Temperature:Java ferns thrive in temperatures ranging from 72°F to 82°F (22°C to 28°C). Maintaining a stable temperature within this range is crucial for their well-being.
- pH:A pH range of 6.0 to 7.5 is ideal for Java ferns. Avoid drastic fluctuations in pH, as this can stress the plant and hinder its growth.
- Hardness:Java ferns can tolerate a wide range of water hardness. However, maintaining a moderate hardness level, typically between 5 and 15 dGH, is generally recommended.
Monitoring Java Fern Health
Regularly monitoring your Java fern’s health is essential to address any potential issues early on. Look out for these signs of distress:
- Leaf Discoloration:Yellowing or browning leaves can indicate nutrient deficiencies, excessive light, or poor water quality.
- Leaf Damage:Torn or shredded leaves may be caused by excessive water flow or aggressive fish.
- Algae Growth:Algae growth on the leaves can be a sign of excessive light or nutrient buildup.
“When addressing any issues, it’s important to identify the underlying cause and adjust your aquarium’s conditions accordingly. For instance, if you notice leaf discoloration, consider adjusting the light intensity or adding a suitable fertilizer.”
Alternative Attachment Options
While tying Java fern to rocks or driftwood is the most common method, other options offer unique advantages for certain aquarium setups. These methods, often favored for their ease of use or adaptability, can provide a secure and aesthetically pleasing way to integrate Java fern into your tank.
Plant Weights
Plant weights, typically small, heavy objects like ceramic or glass marbles, are placed on the Java fern’s rhizome to keep it anchored.
- These weights provide a simple and effective way to keep the fern in place, especially in tanks with strong currents.
- Plant weights are readily available at most aquarium stores and online.
- They are particularly useful for aquarists who prefer a minimalist approach, avoiding the visual clutter of ties or threads.
However, plant weights can sometimes obstruct the fern’s growth or make it difficult to rearrange the plant later.
Suction Cups
Suction cups, commonly used to attach decorations or filters to aquarium glass, can also be used to secure Java fern.
- These cups are generally made of plastic or silicone and come in various sizes.
- They offer a secure and easily removable attachment, making them ideal for temporary setups or for placing Java fern on the aquarium’s back wall.
- Suction cups are particularly beneficial in tanks where direct contact with rocks or driftwood is not desired.
However, suction cups can lose their hold over time, especially in tanks with high water flow or fluctuating water temperatures.
Comparison Table
To better understand the pros and cons of each attachment method, here is a comparison table:
| Method | Effectiveness | Ease of Use | Suitability for Different Aquarium Setups |
|---|---|---|---|
| Tying | High | Moderate | Suitable for most tanks |
| Glue | High | Low | Suitable for permanent setups |
| Plant Weights | Moderate | High | Suitable for tanks with strong currents |
| Suction Cups | Moderate | High | Suitable for temporary setups or back wall placement |
Epilogue
Attaching Java fern to rock is a simple yet rewarding endeavor, allowing you to craft a breathtaking underwater oasis. By following these steps and understanding the nuances of each method, you can ensure your Java fern thrives, adding a touch of natural beauty to your aquarium.
Remember to monitor the fern’s health, adjust the water parameters as needed, and experiment with different attachment methods to find what works best for your specific setup. With a little care and attention, your Java fern will flourish, becoming a centerpiece of your aquatic world.